Milk in Coffee: Foam, Warmth, and the Pour
Warmed milk softens coffee without adding much air; frothed milk changes its texture and how it meets the cup. Learn what each method does, how to choose a tool, and how to pour with control.
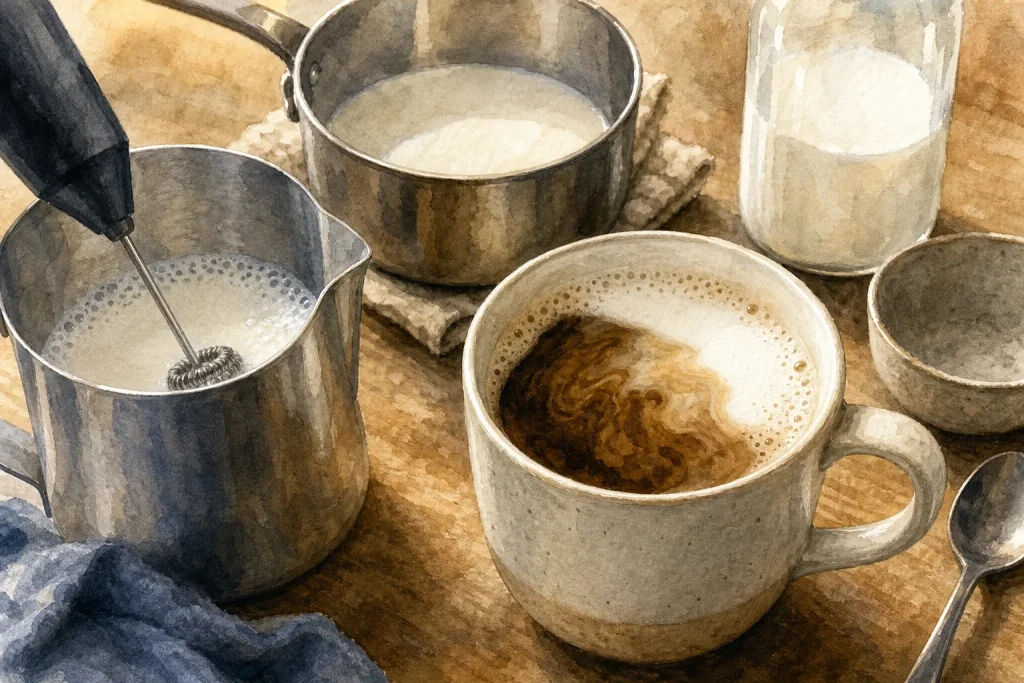
Warmed milk softens coffee without adding much air; frothed milk changes its texture and how it meets the cup. Learn what each method does, how to…
Ingredients · 5 min read
Warmed milk blends into coffee, while frothed milk adds air and changes the drink’s texture. That difference is useful: a splash can soften a filter coffee without creating a cap of foam, while aerated milk can give the surface a lighter feel. You can make either with simple tools, provided you choose the result before heating or whisking.
Warm Milk
Warmed milk is heated without deliberately incorporating air. It stays fluid and mixes readily into coffee, rounding the flavour and softening the contrast between hot coffee and cool milk. A small saucepan or microwave-safe jug is enough.
For a saucepan, add only the milk you plan to use and warm it over low heat, stirring occasionally. Remove it when it is comfortably hot to sip. There is no need to bring it to a boil: boiling can alter the taste, and vigorous bubbling may make the milk harder to pour neatly. The practical aim is gentle, even warmth, not a rolling boil.
You can also use a microwave-safe cup or jug. Heat in short bursts, stir between them, then check the milk before pouring. Stirring helps even out hot and cool areas; a calm-looking surface alone does not tell you whether the milk is evenly warm.
Frothed Milk
Frothed milk has air worked into it. Small bubbles make the liquid feel lighter, and foam may sit on top. Fine, even bubbles tend to pour more smoothly than large, dry ones, which can break apart and leave a coarse layer.
Tools differ in how they add air and heat. A steam wand heats and aerates at once. A handheld electric frother or manual whisk adds air, but may leave you to warm the milk separately. With a handheld frother, keep the whisk below the surface to avoid splashing, but let it approach the surface briefly when you want to draw in air. Then lower it and circulate the milk to refine the bubbles.
Leave room in the jug because the milk expands as air enters. If you use a steam wand, a soft hiss can indicate that air is entering; a sharp, loud squeal may mean the wand is positioned poorly or disturbing the milk. Once you have added enough air, angle the wand to create a gentle whirlpool. This helps distribute the bubbles rather than leaving a dense cap over thin liquid.
Choosing The Pour
Choose warmed milk when you want it to blend into the coffee with little change to the drink’s body. Choose frothed milk when you want a lighter surface or a more distinct contrast between liquid and foam. Neither is a measure of skill; they suit different cups and preferences.
To blend milk in, pour steadily and stir gently. To keep a visible foam layer, swirl the jug first so the liquid and foam are more evenly combined, then pour slowly. A wide cup opening makes the surface easier to see and guide. With a narrow mug, stirring in warmed milk is simpler, though you can still pour foam into it.
Say you have brewed a strong coffee into a ceramic mug and want a softer drink with a light foam layer. Warm a small amount of milk in a saucepan, then use a handheld frother briefly, keeping its whisk near the surface to draw in air. Lower the whisk and circulate the milk; stop when the bubbles look more even. Swirl the jug, pour close to the coffee at first, then raise it slightly as the cup fills. The expected result is a gentler coffee with some foam on top, rather than a separate raft of large bubbles.
Milk Choices
Milk’s fat and protein affect its texture, but no single type suits every cup. Whole milk often feels fuller; lower-fat milk may feel lighter. Plant-based drinks vary by formulation. Some are designed to froth, while others may separate or produce larger bubbles. Check the carton’s guidance for hot drinks, then adjust your method to the result you see.
Very hot or acidic coffee can make some milks separate, particularly if milk is added abruptly. If this happens, let the coffee settle briefly or pour it gradually into the milk while stirring. Either change may help the drink look more even, but the result depends on the particular coffee and milk.
Use milk that smells and tastes fresh, and store it according to the packaging. Elaborate preparation will not improve milk that has turned; discard it rather than adding it to coffee.
Useful Adjustments
- If the foam has large, coarse bubbles, add less air next time and circulate the milk longer; if that does not suit the texture you want, use warmed milk without frothing.
- If the foam is too stiff to pour, tap the jug gently on the counter and swirl it; if it remains clumpy, stop trying to layer it and stir it into the coffee instead.
- If warmed milk is hot but flat, use it as it is for a smooth drink; if you want a foamy surface, froth a fresh portion rather than repeatedly reheating it.
- If the coffee tastes muted, add less milk next time; if it tastes too sharp or thin, add a little more and stir, then decide whether the balance suits you.
- If milk separates in the coffee, try pouring more gradually while stirring; if it still separates, use a different milk or coffee combination rather than forcing the mixture to look smooth.
- If dried residue remains on a frother whisk or steam wand, rinse and clean it according to the maker’s instructions; if residue persists, clean the tool again before using it for another drink.
It is not worth chasing a perfect foam pattern if you mainly want milk mixed into coffee. A saucepan and spoon may be all the drink needs. Think of warmed milk as an ingredient that blends quietly, and frothed milk as one that also reshapes the surface. Choose the method for the texture you want, then let the cup’s taste decide whether to adjust the next pour.